How to Wax Your Car
Now, we won’t just be waxing the car, we will also be using a sealant, but we will get more into that later on.
Even though this process has been around for longer than all of us have been alive, doesn’t mean that it has been done correctly for all of these years. In fact, it used to be common practice to just grab the same oil-soaked, dirt-ridden rag you just used to check the oil, dip it into your can of wax, and give your precious paint a careless layer of wax!
If the thought of that alone didn’t make you wince, then by the time you finish this article, it certainly will!
So, let’s move on and cover all the do’s and don’ts (but mainly the do’s) of protecting your car’s paint!
Step 1: Prepping the Paint
Think of applying a wax to your paint like applying lacquer to a piece of wood furniture. If you were to simply slap a coat of lacquer onto your table without sanding or cleaning the surface first, that is going to be one of the ugliest tables you have ever seen!
Because lacquer, much like a wax or sealant, simply locks in and protects the current state of the surface. This is why you want to make sure that that surface is absolutely gleaming before you do.
Additionally, debris, contamination, and oils that exist on the surface could impact the protection product’s ability to bond to the surface. This is a much more crucial concern when applying a ceramic coating (which is an entire article in and of itself). However, it is also true for waxes and sealants to a certain degree.
It all boils down to this, the less crap you have between your protection product and your clear coat, the better it will look, the longer it will last, and the better it will protect.
Coincidentally, “prepping the surface” is a pretty vague term and encompasses a wide variety of steps. In fact, we have already performed the vast majority of them in the previous installments.
That said, we will give you a short synopsis in case you are just jumping into this informational series.
| Wash the car | 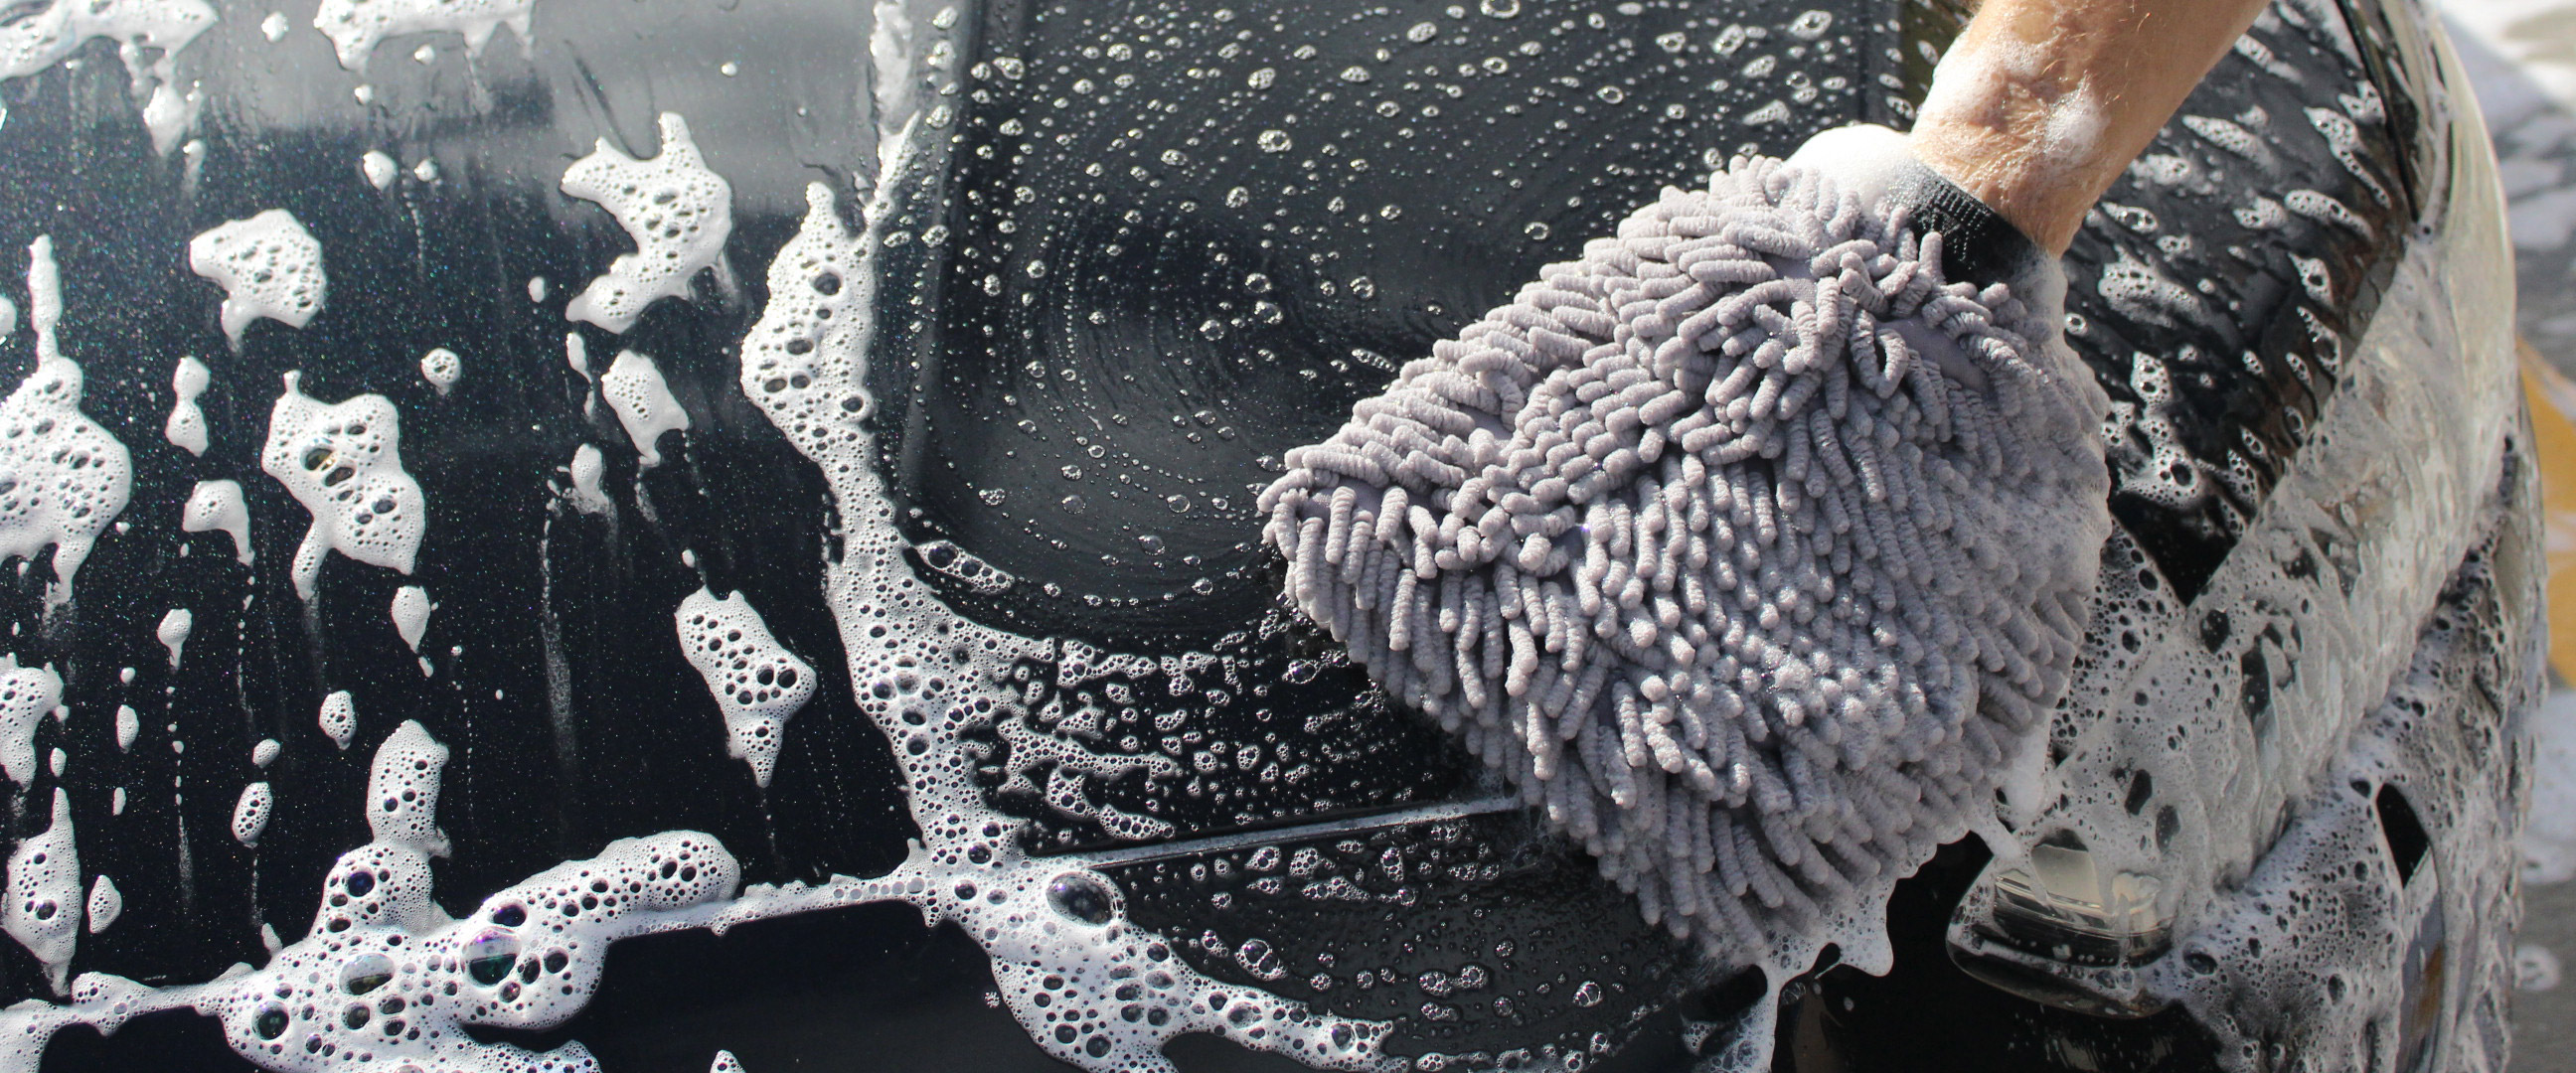 |
| Remove all the contamination | 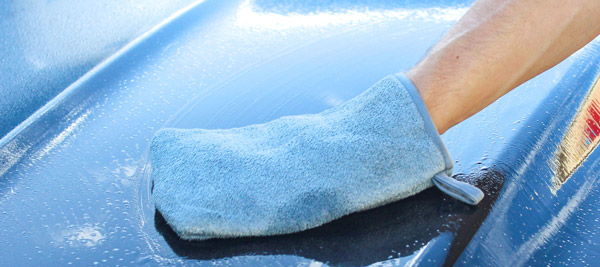 |
| Make the paint look it’s best by removing all the defects | 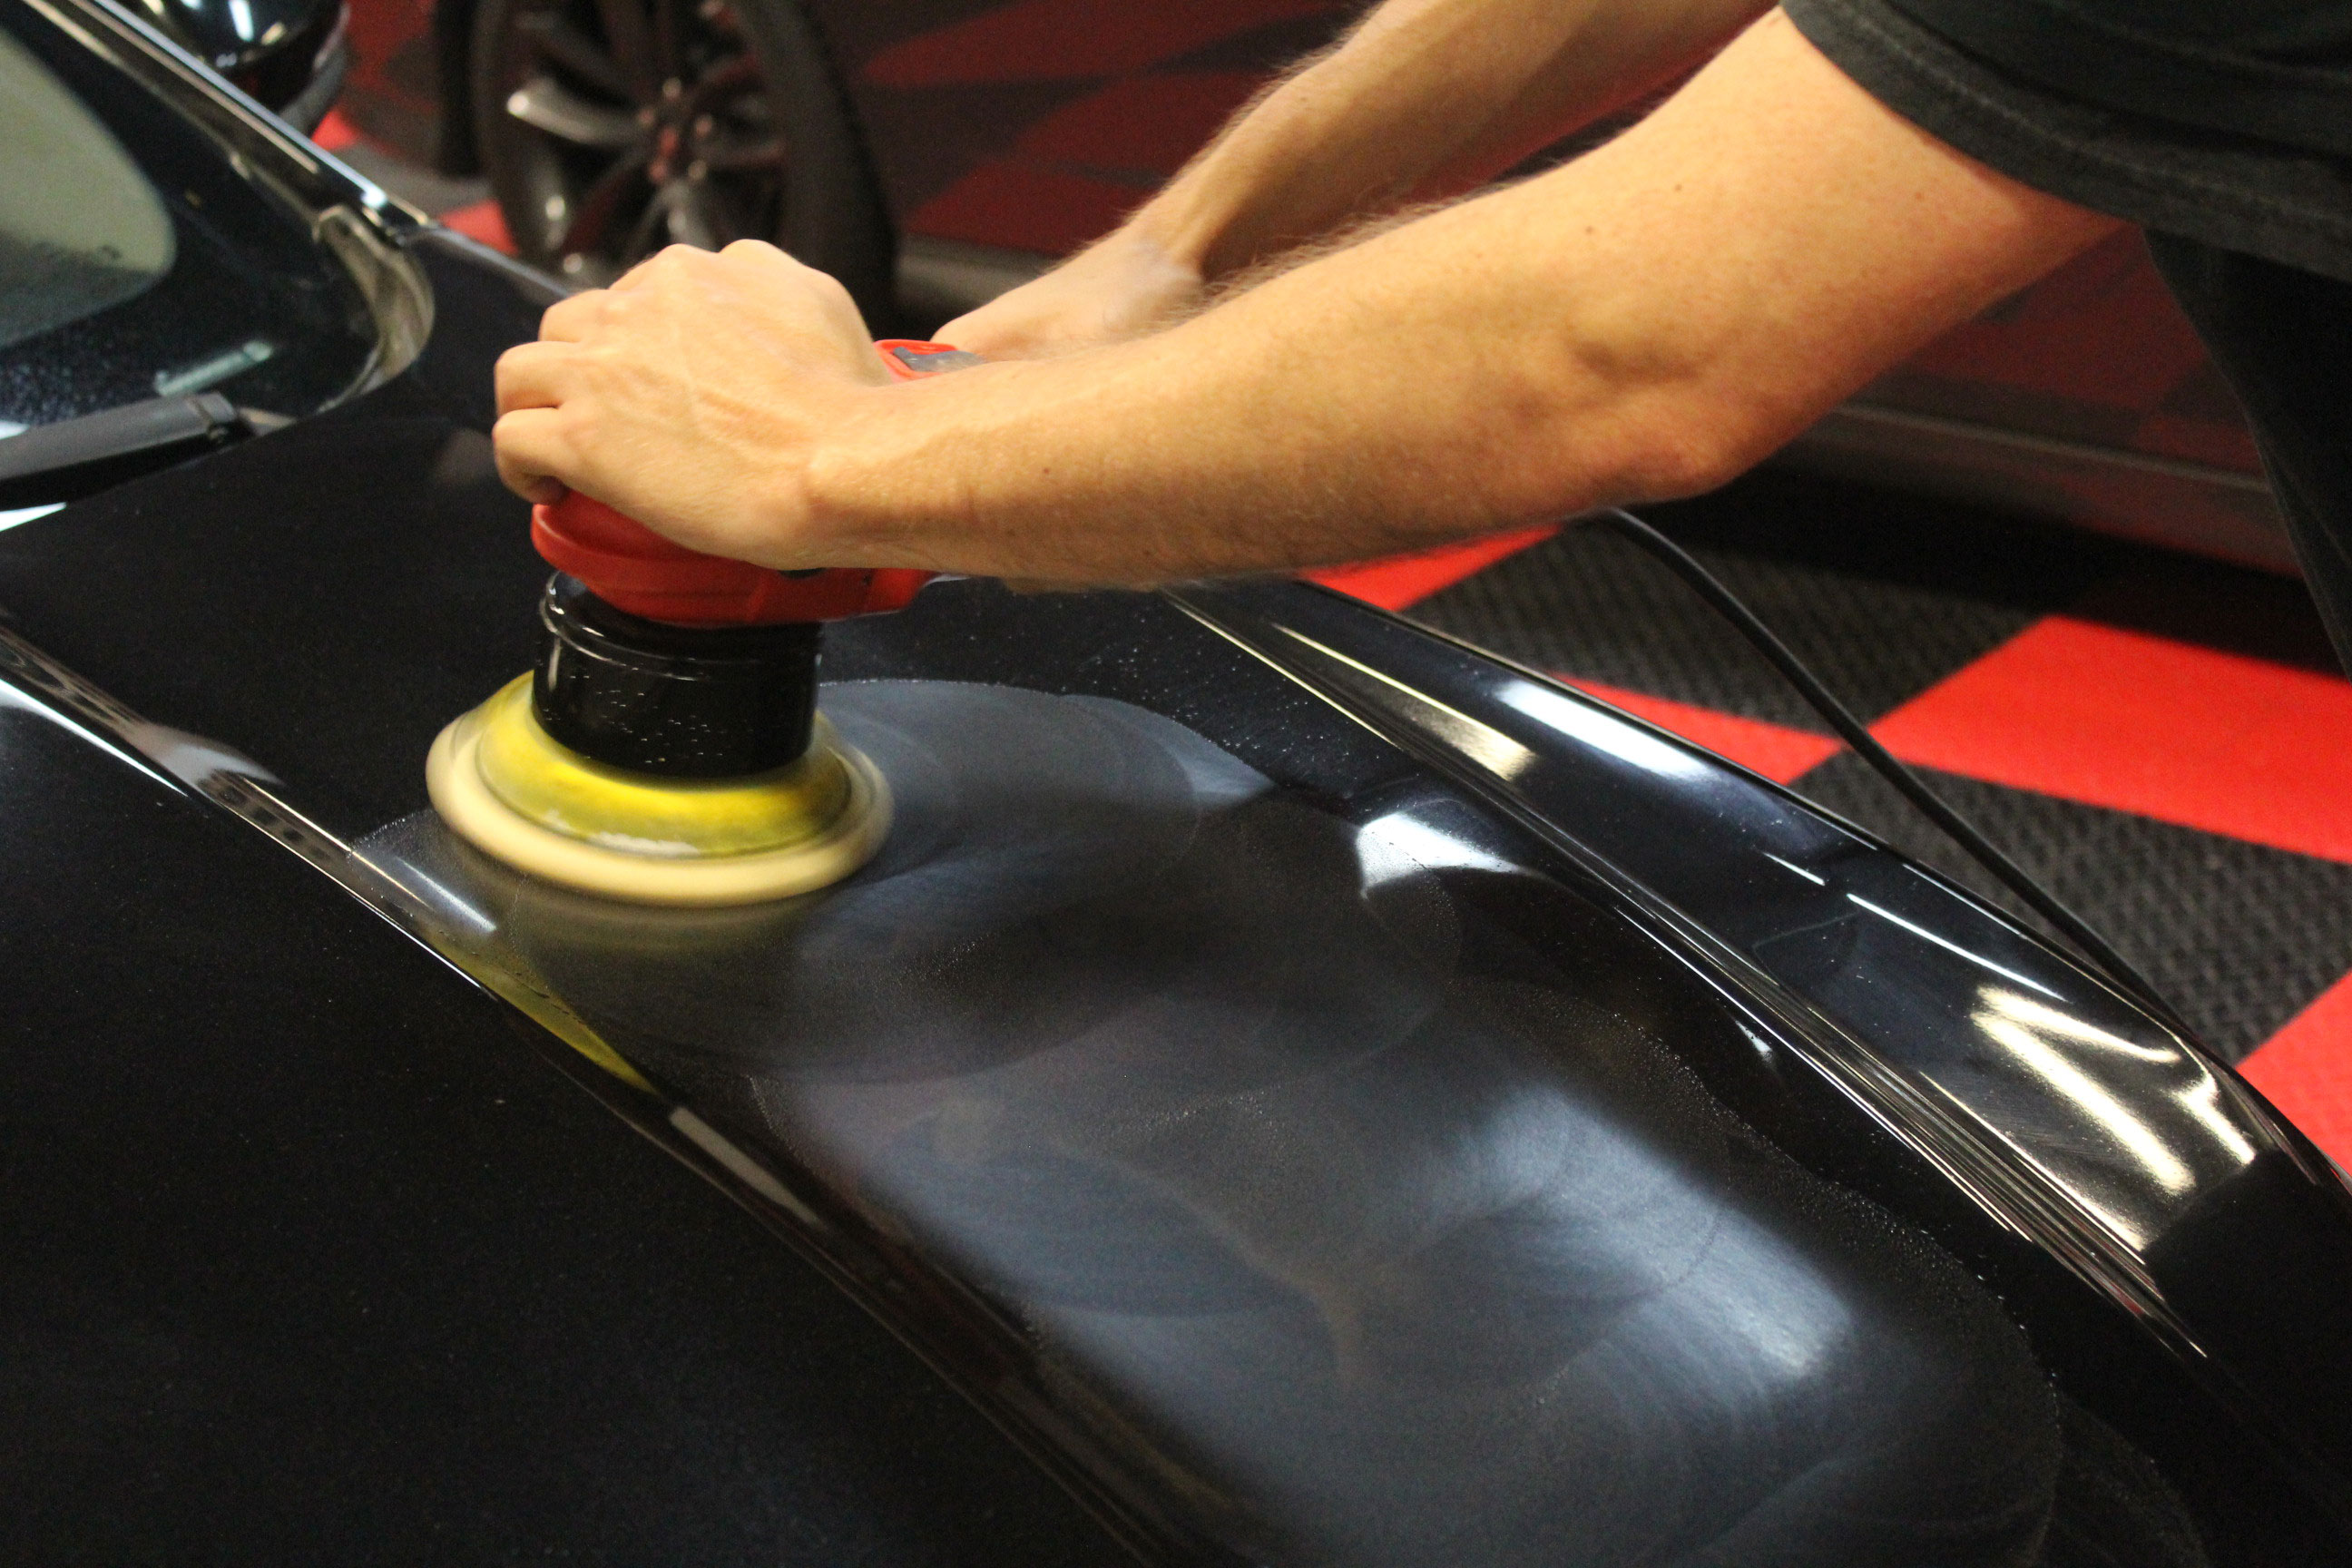 |
The only step that we have yet to do is remove all the oils from the surface. This will ensure that we get the strongest and most even bond to the paint when we apply our wax and sealant.
Doing so is not as hard as it may seem. In fact, usually, it is even easier than using a quick detailer.
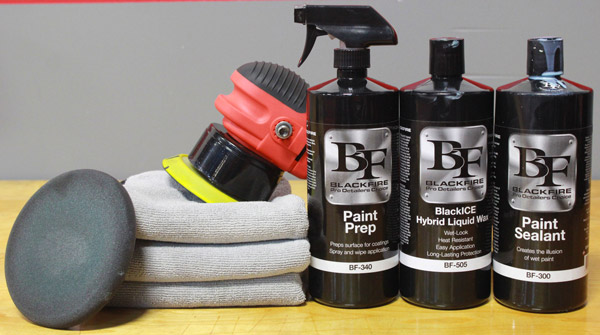
There is a combination of chemicals in our BLACKFIRE Paint Prep that dries out the oils on your paint. This means that when you use a towel to wipe them off, instead of spreading around, they will be easily removed. And that’s really all it takes!
We are going to work one panel at a time.
First, we will dose the panel with a liberal application of our BLACKFIRE Paint Prep.

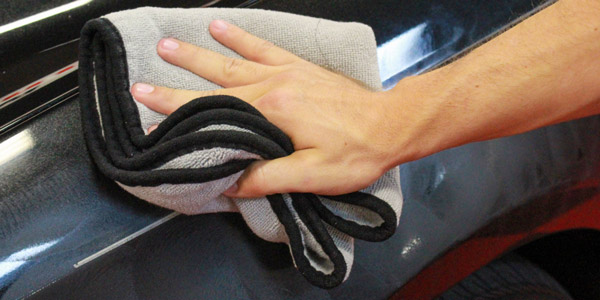
Then we will use a Cobra Supreme 530 microfiber towel to wipe it off.
Keep in mind that because we are wiping contamination off the surface, you’ll want to be careful with how you wipe. You want to let the towel pick it all up and then switch to a clean side of the towel for the next wipe. You may go through quite a few towels doing so, but this is the only way to ensure that you don’t simply reapply any oils to another surface later.
Our surface is now perfectly prepped and ready to be sealed and waxed!
Step 2: Applying the Sealant
For our paint protection, we are actually going to use a combination of two different products. We will first lay down a layer of our BLACKFIRE Paint Sealant.
For those who may not know, there a few different names for products like “BLACKFIRE Paint Sealant”. Some call them “synthetic waxes”, others call them “polymer waxes”, but the most common term for them is “paint sealant”.
Essentially, a paint sealant is a man-made wax. It is developed in a lab and uses polymers that form a strong bond to both itself and the surface of your paint.
These strong bonds allow the paint sealant to provide an increased level of protection when compared to a traditional car wax. Most sealants are graded to last about 6-8 months. However, there are A LOT of factors that influence the lifespan of a sealant.
However, there is a bit of a trade-off when it comes to a paint sealant, and that trade-off is the look of it. It’s not that paint sealants have a bad look to them, just a different look.
It all boils down to matter of personal preference, but it is generally accepted that a traditional wax has a more appealing look to it. This is why we are going to be getting the best of both worlds by topping our sealant with a wax! It will generate a very deep and wet look to the paint!
Enough talking! On to the actual application!
When it comes to applying a sealant, the most important consideration is to make sure that you apply it evenly and to the entire painted area. Other than that, you are pretty much just spreading it out.
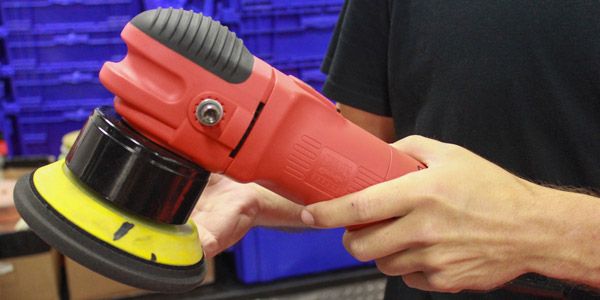
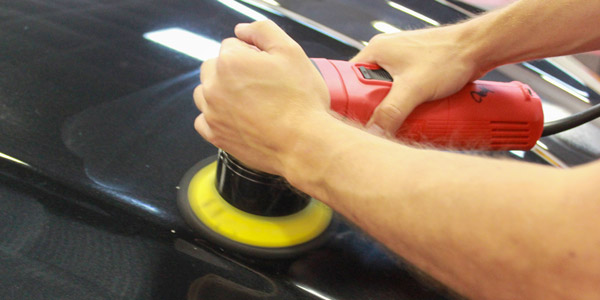
To ensure we are going to be able to get an even and consistent coat, we are going to use a machine polisher. In fact, we are going to use the same Griot’s Garage 6-inch polisher that we used for our paint correction process.
Because our sealant is a finishing product, you do not need any correction potential while applying it. To use an abrasive pad to apply it would simply mar the surface and reduce the quality of the results. For this reason, we will use a Lake Country 6.5” Black Foam Finishing Pad. This pad is extremely soft and firm, allowing for a consistent and marring-free finish!
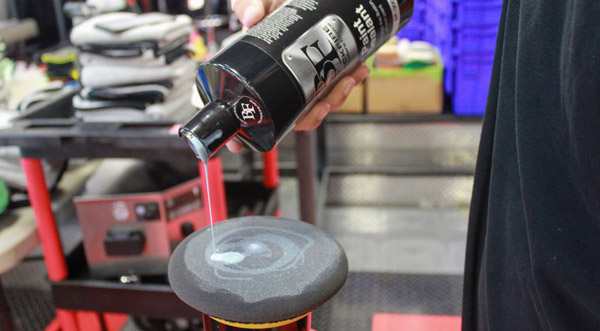
Once again, we will want to prime our pad to ensure that we are not dry buffing. This time it has less to do with protecting the surface from unnecessary friction though. Because the pad doesn’t generate much friction at all, we are more so doing this to reduce pad wear.
We are going to apply a good amount of product to the pad a spread it out around the pad with our finger. This will work the product into the pad and make sure there are no dry spots on the pad.
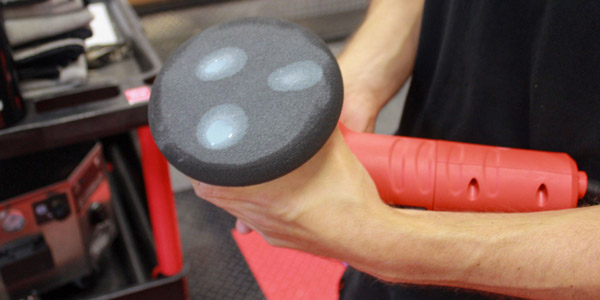
Next, we will apply our “working product”, which amounts to 3 dime sized drops on the face of the pad.
Now, we will start applying it!
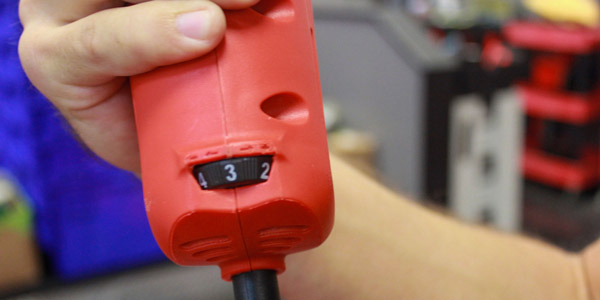
Our polisher speed is set to 3. We aren’t worried about generating more correction potential, so a high speed isn’t necessary. We are simple concerned with applying it evenly, which takes a slow and patient pace. That is nearly impossible to achieve while the polisher is dragging you across the paint, so we will keep the speed low.
While we were doing our paint correction, we were working in 2’ x 2’ sections to ensure consistent results in how the surface was abraded. However, because we are not abrading the surface at all in this step, we will be working entire panels at a time.
The main things we want to keep in mind are to make sure we apply the BLACKFIRE Paint Sealant evenly over the entire area.
A machine polisher is much more consistent than a human being because it is designed to move in literally the same motion over and over again, ad nauseum. This means it can’t help but apply the product exactly the same way panel after panel.
As for making sure that we cover every square inch of paint, the polisher will help in this, but the most important thing is our technique. Just like when we used our polish and compound, we are going to use a cross-hatch pattern.
First moving the polisher left to right across the panel,
then up and down.
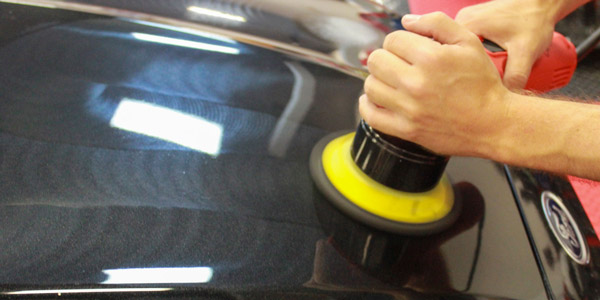
By alternating, we are ensuring that we hit every bit of that panel from every direction.
We will give it about 2-3 passes to ensure that we sufficiently covered the whole area.

Unlike in the paint correction step we are not going to buff off any residue just yet. This product needs time to bond with surface and to allow the polymers to create a cross-linking matrix across the surface. Which is just a fancy way of saying “harden”.
We will know that it is ready to be buffed off when it “hazes”. This means that the product will become more opaque and almost look like it has created a haze over the surface.
And because we are not folks who enjoy watching paint dry, we are certainly not going to sit and watch sealant harden. So, we may as well pass the time by moving onto the next panel.
In fact, this sealant usually takes about 45 minutes to haze, so we will go ahead and do the whole car.
We will not have to switch over to a fresh pad after each section like we did during paint correction. This is because we are simply spreading the product around, so it doesn’t matter if the pad becomes wet and loses the ability to cut as well. Especially since this pad didn’t have any ability to cut in the first place.
If it takes longer than 45 minutes to finish the whole car, it won’t be a big deal. The sealant will not “over harden” if it is left on the paint past the 45-minute mark.
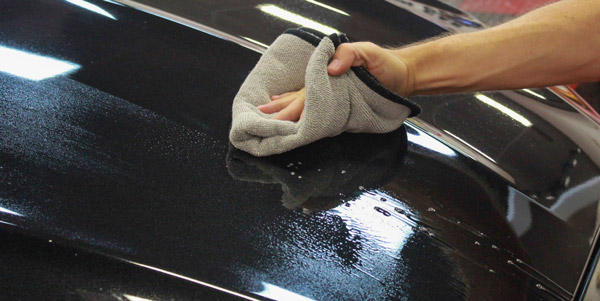
Now that we have applied our sealant to the whole car, we will start buffing it off panel by panel.
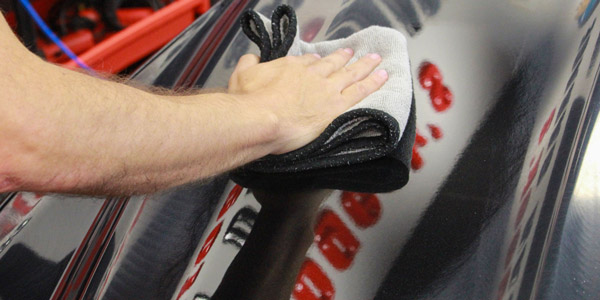
Once we have completed buffing all of it off, our sealant is completely finished!
For those of you who just want a good amount of protection and aren’t concerned with the look, (or if you just prefer the look of a sealant!) you can leave the sealant on there and consider your day done!
We however, are striving for a specific look, so we will continue on to our wax!
That being said, we need to give the sealant a couple hours to cure (really settle in and make itself at home) before we do that, so we are going to get lunch in the meantime.
Step 3: Applying the Wax
Typical car waxes are derived from nature and are usually Carnauba based or Montan based. Both Carnauba and Montan are naturally sourced for the most part.
Carnauba is actually a substance that forms on palm trees in Brazil. The trees produce Carnauba to coat their leaves and provide a durable layer of protection from the environmental dangers around them. Carnauba can be extracted and used for the same purpose on your car’s paint. It is typically mixed with other ingredients that make it more malleable and easier to spread, but almost all of them are all natural.

Montan is derived from a naturally-occurring coal called “Lignite”. The term “naturally sourced” is stressed a little bit in Montan’s case because it requires using solvent extraction to actually create the Montan. It is then mixed with similar ingredients that Carnauba is mixed with to make it more malleable and easier to spread

Carnauba has very little pigmentation, so it is a safe choice on pretty much any color paint. Our BLACKFIRE Midnight Sun Ivory Carnauba Paste Wax is a Carnauba-based wax.
Montan has a darker pigmentation to it, so it is best on dark colored paint. However, it does have a higher heat resistance than Carnauba! Our BLACKFIRE BlackICE Hybrid Montan Sealant Wax is a Montan-based wax. Given that this is a black car and that we are located in the hot state of Florida, we decided that a Montan-based wax would be best suited for our uses.
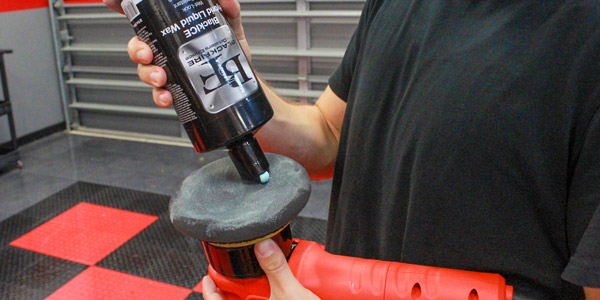
We plan on using a machine to apply our wax, so we opted to use the liquid-based BLACKFIRE BlackICE Hybrid Liquid Wax over the paste version because it is more convenient for machine application. This application process will be almost identical to the process we used to apply the sealant.
We are going to grab our Griot’s Garage 6-inch Polisher and a fresh Lake Country 6.5” Black Foam Finishing Pad.
We will prime the pad to reduce friction and pad wear.

We will apply 3 dime-sized drops of our BLACKFIRE BlackICE Hybrid Liquid Wax to our pad.
Just like with the BLACKFIRE Paint Sealant, we are going to work on an entire panel at a time.
First buffing left to right. Then up and down.
After going over the panel 2-3 times, we are done applying the product.
This product, just like the BLACKFIRE Paint Sealant, needs time to haze. As such, we will simply move onto the next panel while it does that.
Once we have gone around the whole car, we will go back to the panel we started on and begin buffing the wax off, panel by panel.
Once that is done, the whole process is complete!
Step 4: The Well-Deserved Rest
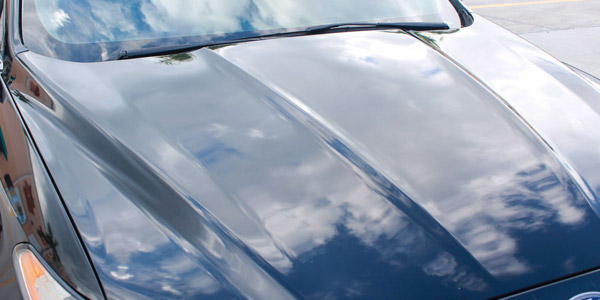
With the sealant and wax applied to the paint, this car will not only be extremely well protected, but also have an incredibly wet-looking gloss!
As you can tell from the pictures, this car is looking incredible compared to how it did in the beginning!
And while it has come a long way, there is still a little bit further for it to go.
Make sure to join us for the next installment of this informational series, when we go over dressing the tires, protecting the trim, and all the other finishing touches!